HDR software for the Mac
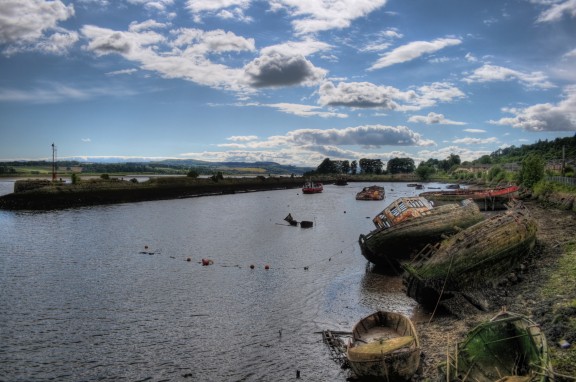
Today, there are many different ways of producing HDR photographs on the Mac, the most common of which was described in my Beginners Guide to HDR, and this review covers four of the applications available to us. I will be looking at Photomatix Pro, HDR PhotoStudio, Hydra and the free option HDRtist. To help you make your own mind up, the source photos used in this review are available to download here, and you can use them in the demos linked at the end of this page. I will be testing all four applications at aligning and merging first and then tone-mapping second, making the image usable as a JPEG on the dynamic range a monitor can display. I will be assuming you’ve read my beginner’s guide and will be using terminology described there, but if you haven’t, don’t worry too much about it. Apologies for both the length and the lack of detail. I wish I could have made it shorter and I also wish I could have had the time to make it much, much longer. Comment below if you agree or disagree and if you like this sort of thing, follow me on Twitter.
The Software
Photomatix Pro is the software I used for my tutorial and it’s probably the most common solution in use. It comes as both a stand-alone application and as a plug-in for Adobe Photoshop.
HDR PhotoStudio has been available to Windows users for a while but is a newcomer to the Mac. While it’s not got a Photoshop plugin, it does have a BEF exporter Photoshop plugin, so you can do the aligning and merging in Photoshop if you prefer.
Hydra is a stand-alone application only and is exclusively available on the Mac. It’s got neither a plug-in nor an exporter and as such can only rely on it’s own alignment system, which as you’ll see later is quite a drawback.
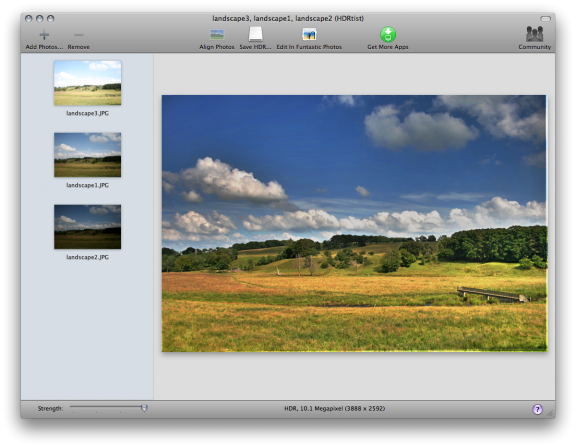
HDRtist is the free option. It’s got nothing apart from a slider. No, really. When you want to align images, it installs an open-source alignment binary, aligns the images and presents you with one slider control. One nice thing is that if you run it outside the Applications folder, it asks you if you want to move it there. Very nice, and yes please.

Right, let’s get started. I’ve selected two photographs with interesting areas of light and dark, taken without a tripod as JPEGs at three exposures, 2ev apart. I’m not using Raw photos this time as it would just add to the processing time and would show off the workflow more than the software. The aim of this review is not to show off my technical strengths or weaknesses, but rather to show how the software handles common issues you will come across.
Aligning and merging
All four applications accept multiple exposures and merge them together, aligning them with varying degrees of success. When you take bracketed photos without the use of a tripod, you need the software to cover up the unavoidable slight movements. The next four images are all 1:1 pixel crops of an aligned and rushed through image to give an impression of the alignment and should not be taken as quality of rendering.
Photomatix Pro
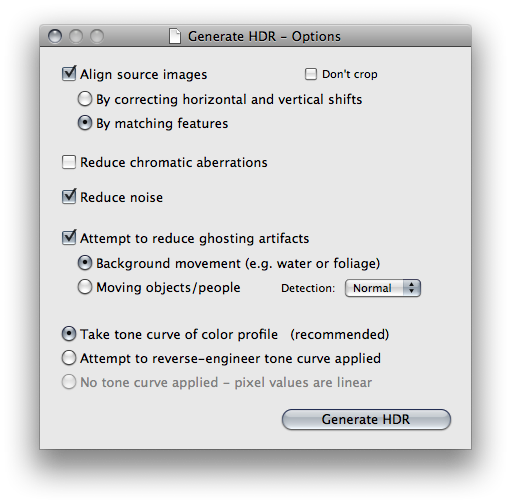
The choices offered for aligning images when you import them in Photomatix Pro are excellent. They work very well and are the best of this bunch of applications. To make them even better, you have the option of aligning the exposures in Photoshop as part of its “Merge to HDR…” automation as mentioned above.

HDR PhotoStudio
Alignment options are scarce, but it seems to do fine.

Hydra
Ugh. The automatic option is lousy and even when doing it by hand (using matching points in a rather unintuitive interface) you still get overlap. Worst of the lot. They’d be better off adopting the system used by HDRtist, in my opinion.

HDRtist
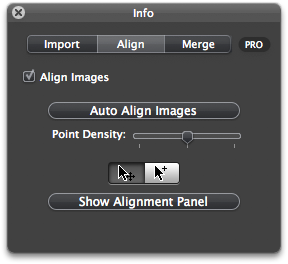
An open-source application called “Align_Image_Stack” is installed when you click the Align option. Like HDR Photostudio above, this just works.


Tone Mapping
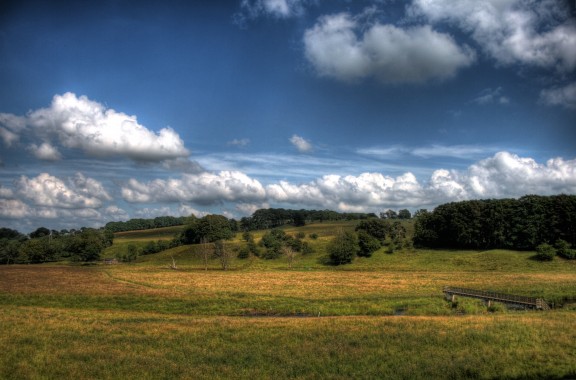
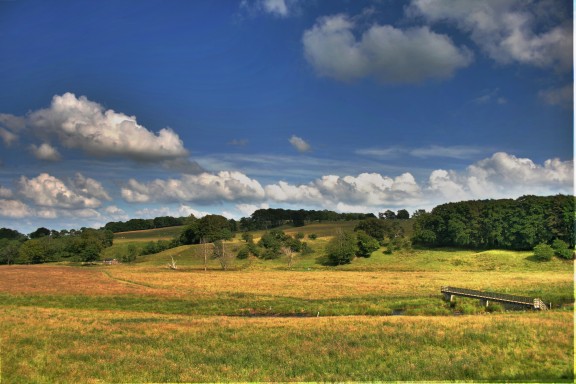
Tone Mapping is the stage that turns the HDR image into a visible LCD-ranged image. It’s the part that you need to be most careful with, as you’ll know from my tutorial. The HDR images below are what comes out of the software and would also look much better finished off in photoshop (cropping, cleaning, cloning, etc.) but you can do all that yourselves once you’ve played with your choice of software. No attempt has been made to try to render the images with the same settings; what I’ve done is fiddle with the settings to get an output that works as quickly as possible. With Hydra, this was difficult and the resulting output will require a lot of post-processing. With HDRtist, I just whacked the single slider up to eleven and hit save.
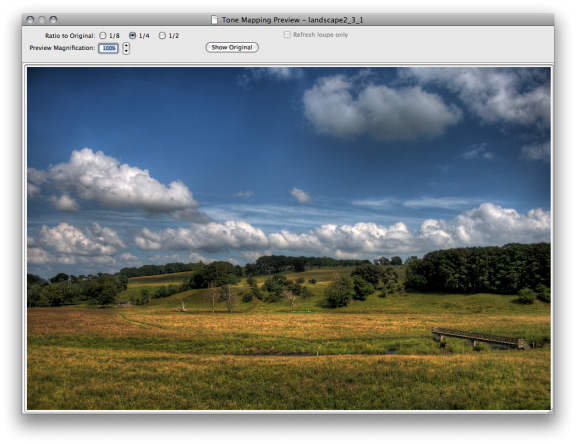
Photomatix Pro
The range of choices are very easy to get to grips with. I usually have Luminosity, Microcontrast and Smoothing set fairly high and try to keep Strength and Saturation low, but sometimes I just can’t help myself.

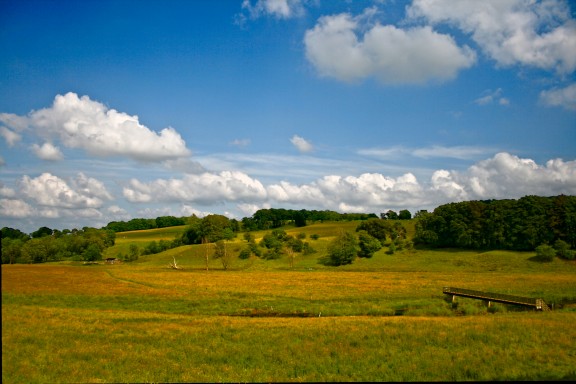
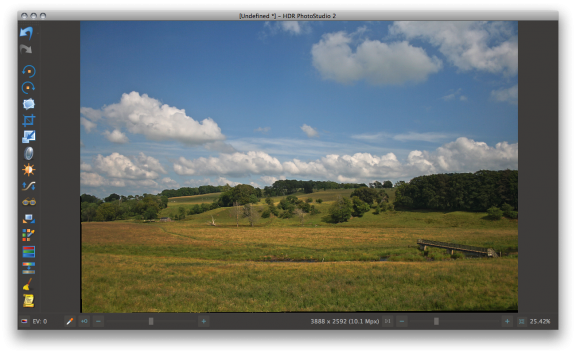
HDR PhotoStudio
If you decide to use HDR Photostudio, I woiuld definitely take some time to learn the Veiling Glare and the Brightness/Contrast controls as that’s where the magic happens. Not as easy to get to grips with as Photomatix, but rewarding nonetheless. I miss the white and black point settings, but again, that’s something I can finish in Photoshop or Acorn if needed.
Hydra
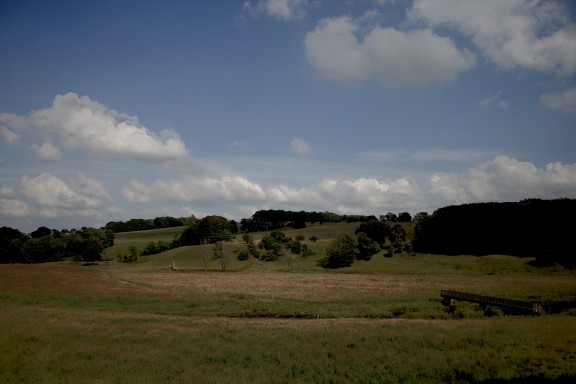
Confusing and not very rewarding. I can’t get up the energy to go into too much detail, but I’ll try. There are three basic Tone Mapping choices: Compression, Local Adaptation and Perceptive. None of them gives a good result.
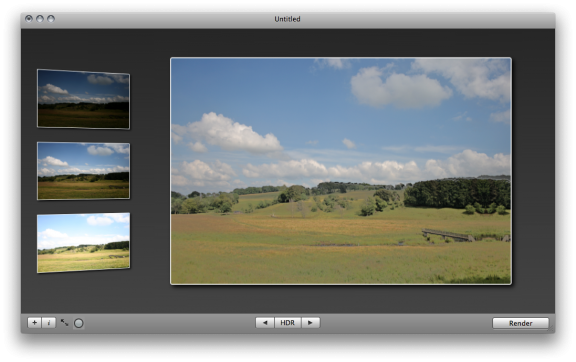
HDRtist
One slider. Fast Preview. Lesson over.
Conclusion
If you’re just playing around casually, HDRtist is hard to beat for the price. Sure, it is very variable, but if you shoot for it and get lucky, it’s great. However, we can’t consider it a real contender as it cannot produce consistent results from variable sources. Next up, Hydra offers nothing of note and should be avoided until it gets some chops. Yes, it is a very good Mac citizen, with 64-bit compatibility, a great OSX interface and a very good Mac feel, and yes, it’s harsh to say this, but if it can’t even align pictures that well, it’s never going to be a go-to application. This leaves us a choice between Photomatix Pro and HDR PhotoStudio as the software to get, and depending on your needs, either will do. I’m going to declare Photomatix Pro as the winner, especially for of the Photoshop Plugin, but HDR PhotoStudio may suit you and your photography style better. Try both out as demos and make your own mind up as I can’t be sure my familiarity with Photomatix Pro isn’t biasing the result. HDR Photostudio has some nice touches and some amazing colour controls, for instance check out their comprehensive tutorials for stuff I may have missed, and I’m going to keep exploring it, so come back for updates and a long-term test.
Don’t take my word on any of this when you can download demos here:
Yes, even give Hydra a try as I may have missed the “make it good” button in my eagerness to slag it off unnecessarily.
Oh, and before I forget, here are zip files containing the crappy hand-held photos used in the tests above. Each 9MB ZIP contains three photos at +/-2ev.
Please comment and show me what you’ve done. If you’re lucky, I may even chuck a quick TrueHDR iPhone App review in the comments later.